Hey plant lovers!
Are you in need of new plants? Do you have a favorite houseplant that you wish you could have more of? Do you want a cost effective way to increase the greenery in your home? Then this post is for you! Here’s an easy tip on how to get the most out of your houseplants:
~ PROPAGATION ~
Propagation is the process of breeding/producing offspring from a parent plant. It’s usually done through cuttings and many plants can be successfully reproduced through this process.
Propagation is one of my favorite techniques because I get new plants out of it for FREE.99! I love the sound of that. Since directions for this process can vary, it’s best to check how to do it for each individual plant that you have. However, in most cases, all you have to do is cut a stem from a healthy plant and place it into a growing medium (soil or water). In this post, I will be showing you how to propagate Golden Pothos. It’s super easy!
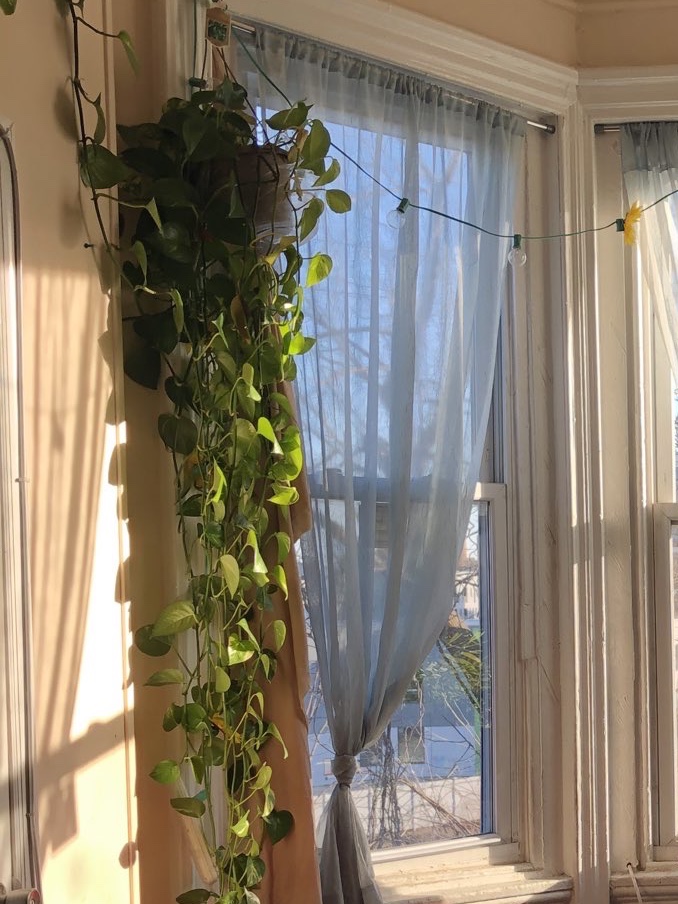
3 months ago, I decided to propagate one of my favorite plants, Goldie the Golden Pothos. I love the fact that Goldie has long vines because it’s pleasing to see and it lets me know that I’m taking good care of her. On top of that, it just adds more green to my space and I love the look of it. So my intention in doing this is to have as many versions of Goldie as I can.
To propagate Pothos plants, you have to cut the stem of the plant on each side of the leaves, making sure that the node is intact. The node is basically a knob or a bump where new leaves and roots emerge from the plant.
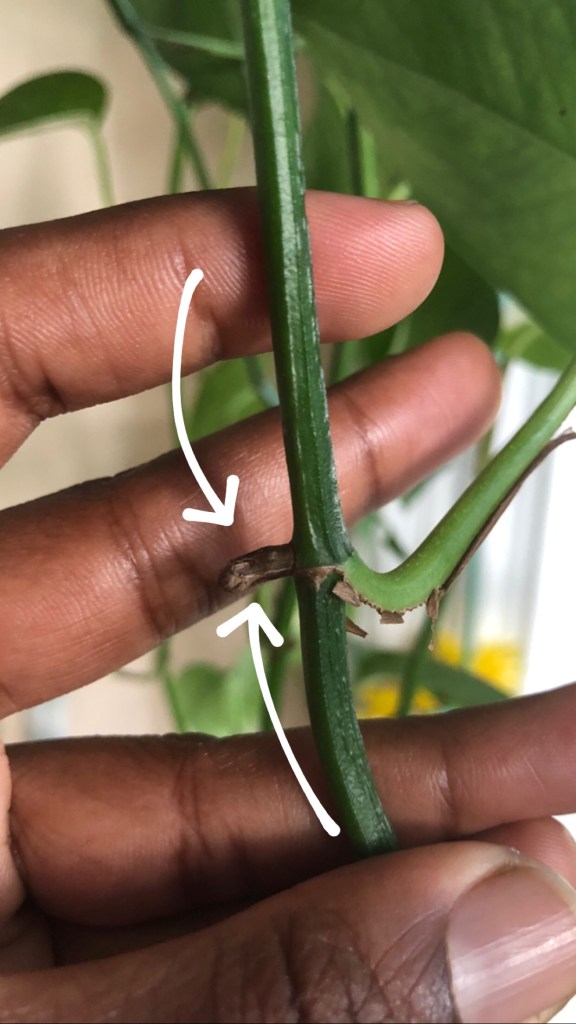
Node 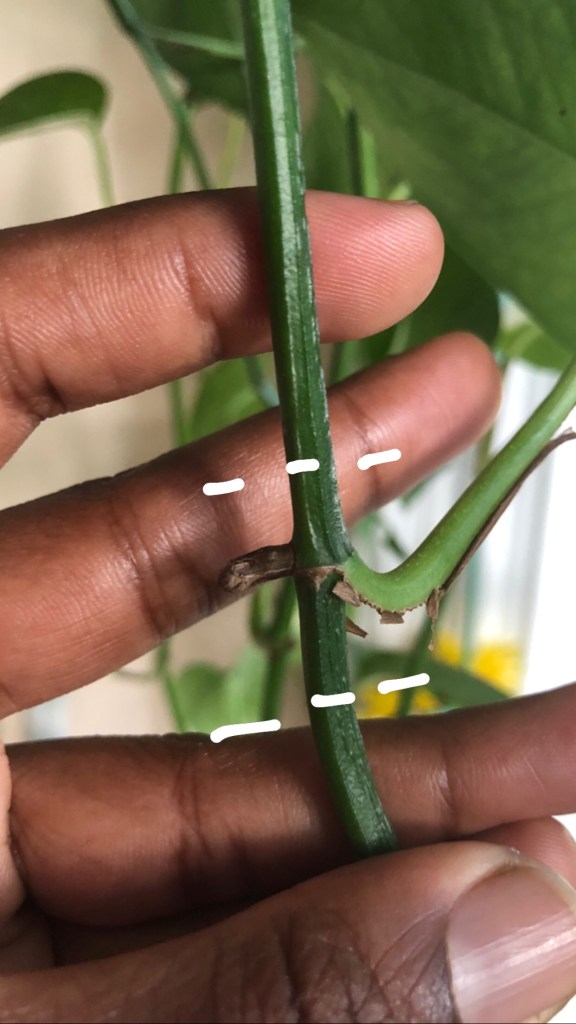
Cut on each side of the node.
Once you have cut as many leaves as you’d like, place them in a jar of water (or container of soil, if that’s your choice), making sure that the nodes are fully submerged, and allow the new root system to grow.
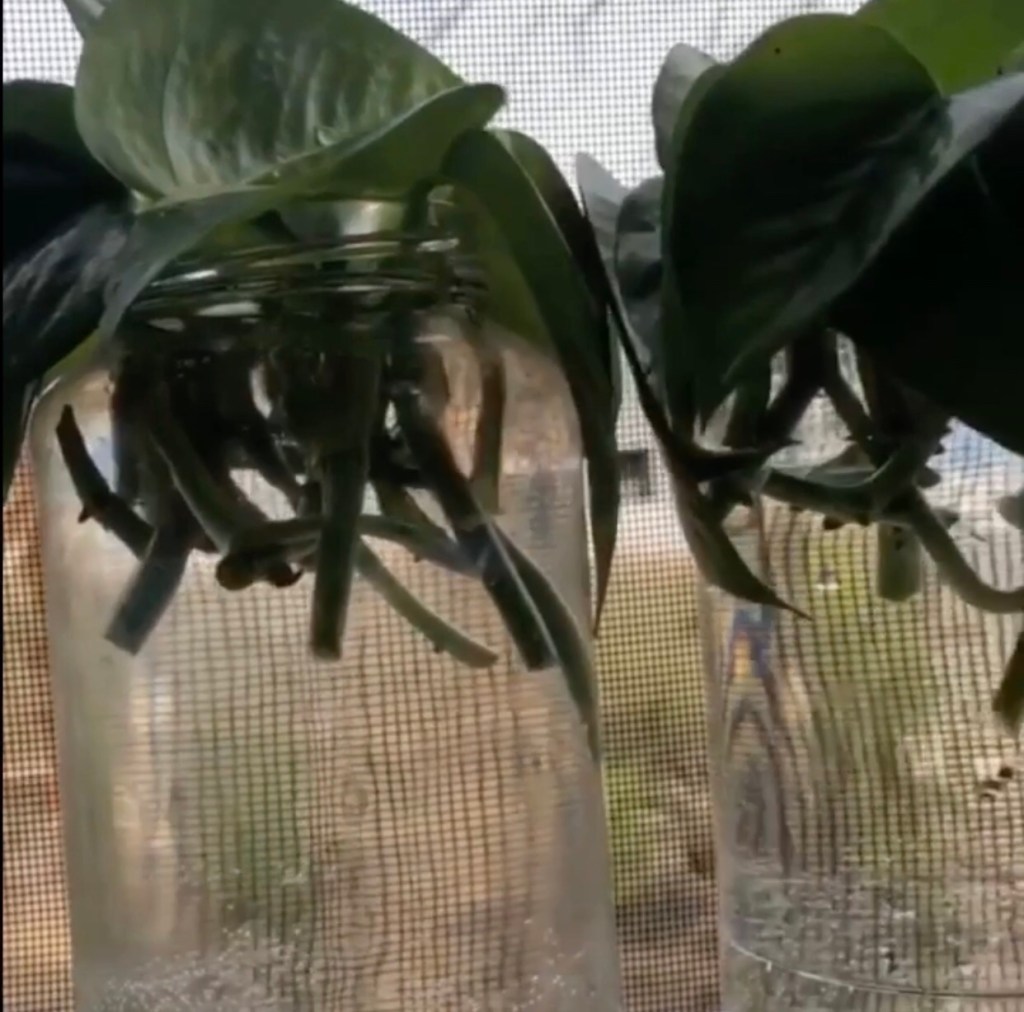
I prefer to propagate in jars of water because it’s very easy and it allows me to track the growth of the roots. I then change the water every 2-3 days (sometimes 3-4 because your girl gets tired okay!) to make sure that it’s fresh and providing oxygen to the plants. There were a few times where it was 4-5 days before I changed the water. It turned out just fine, but err with caution. In about a month you should begin to see new root growth and in 2-3 three months, you’ll get the results below! Not only will your cuttings have new roots but your original plant will have produced new leaves to replace the ones that were lost.
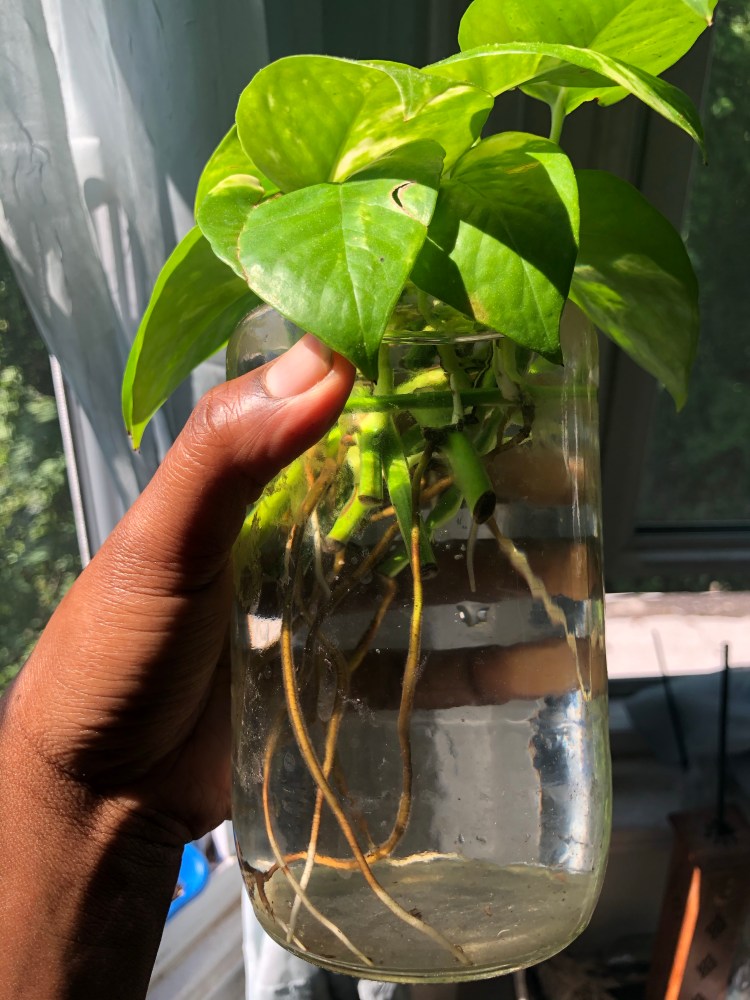
2 months post cutting 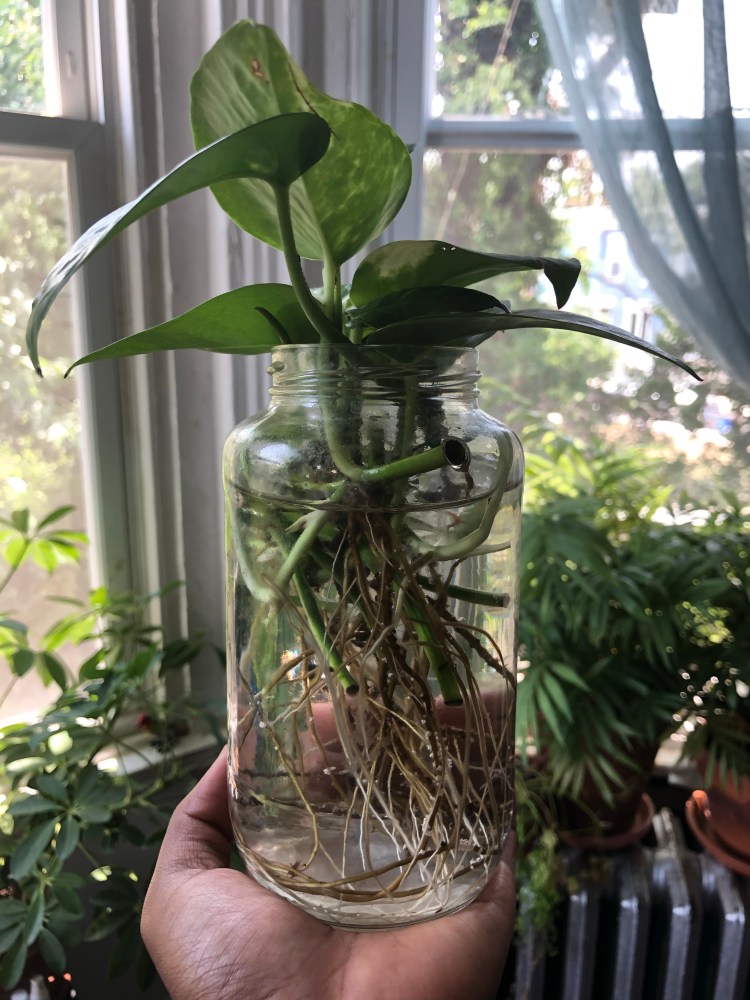
3 months post cutting 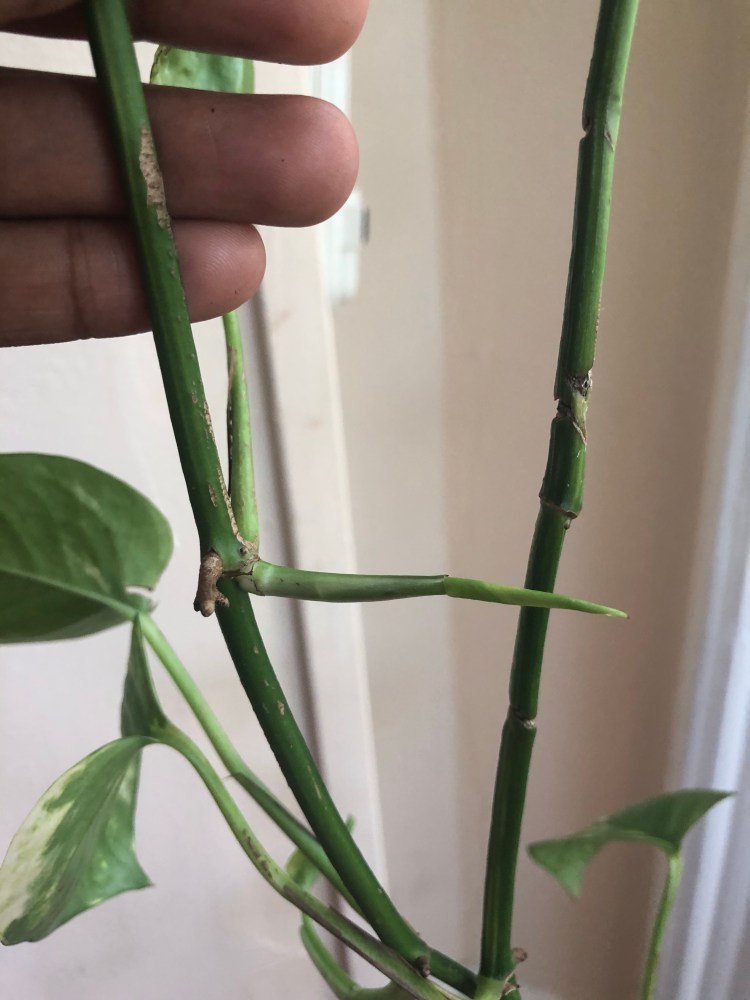
New leaves emerging from node. 
3 months post cutting
Once you are satisfied with the root development, you can transfer to soil like I did below!
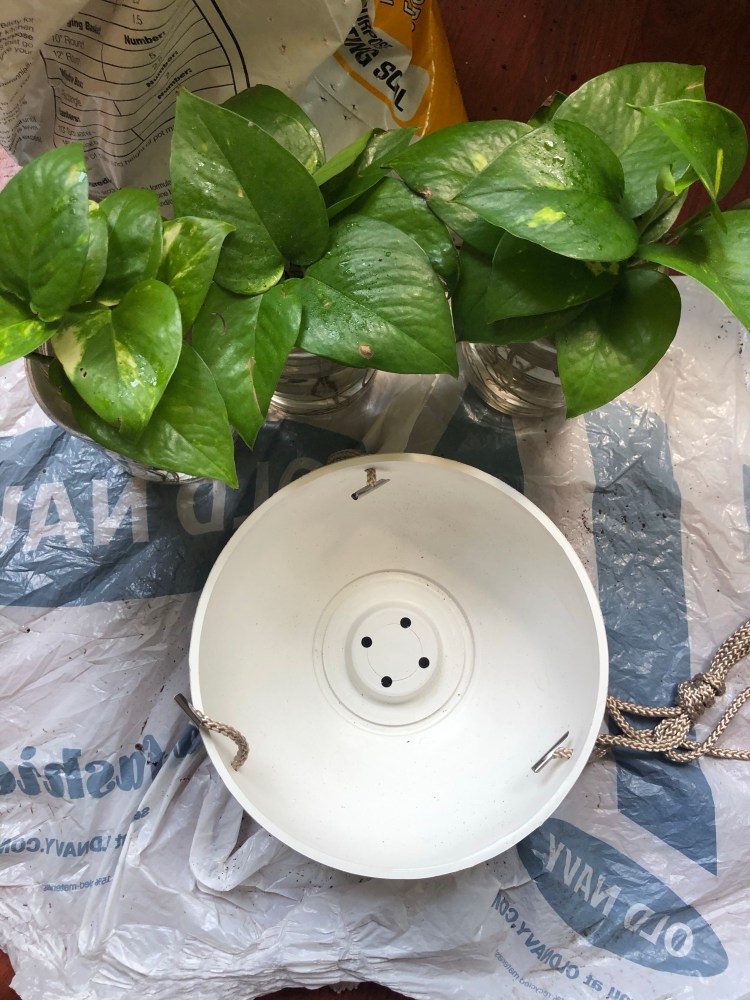
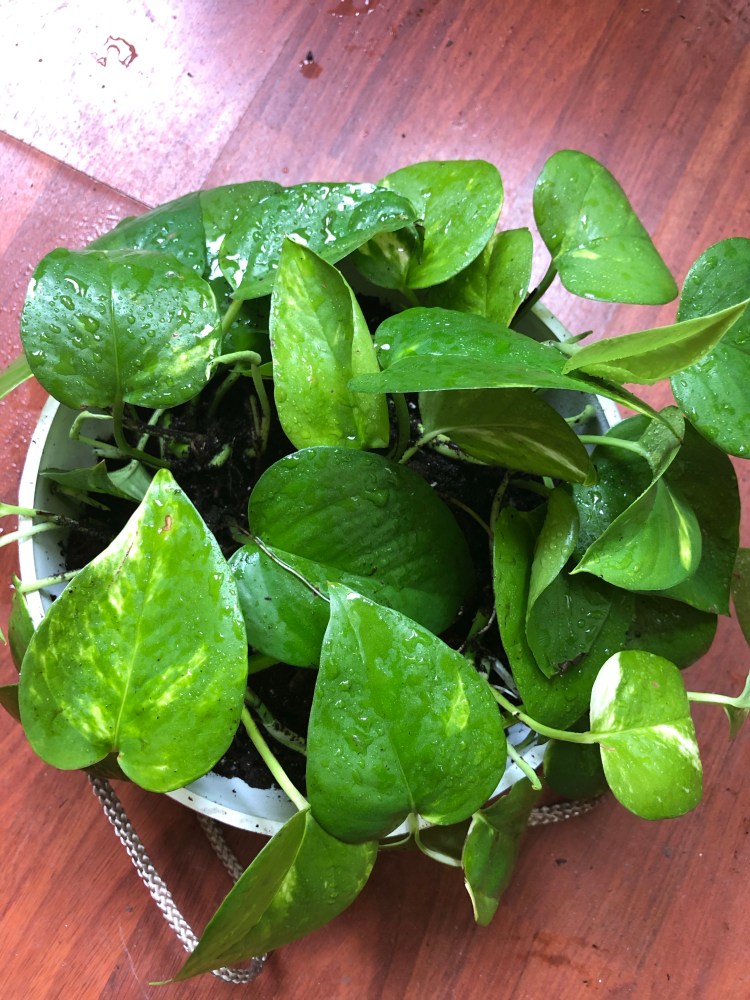
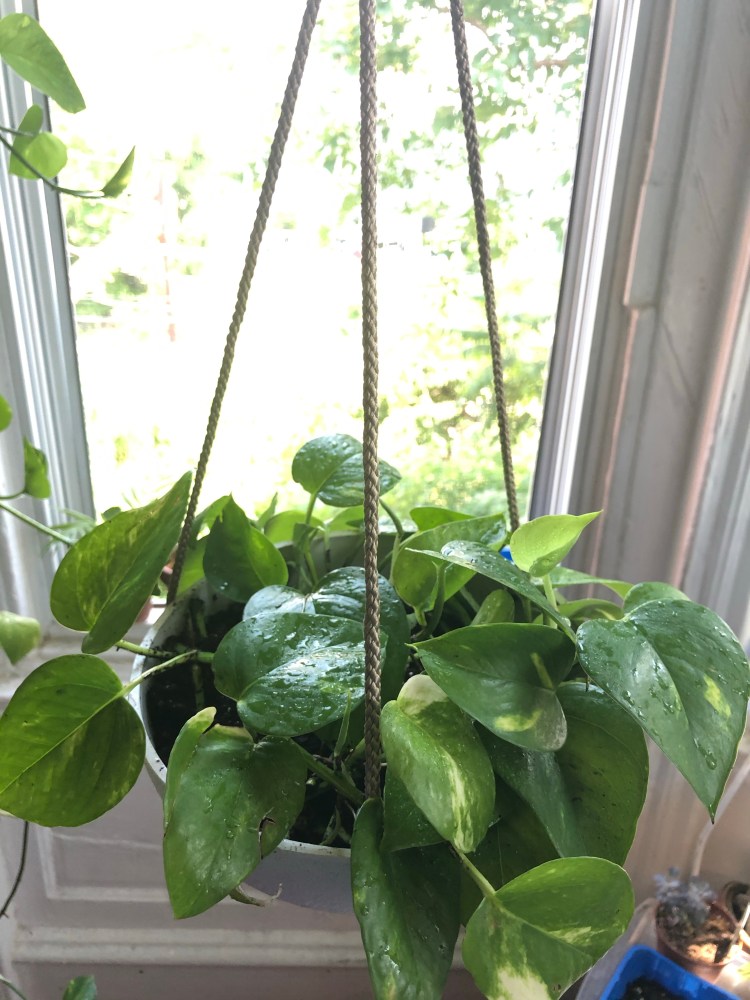
And voila!
Check out my short video below showing you how I did this!
